The problem of annoying banner ads — not to mention the malicious bonuses some include — is so acute that numerous programs claim to remove the eyesores from websites. But if you already have Kaspersky Security Cloud installed, you’re all set. In this post, you will learn how to eliminate banners and pop-up ads using our Anti-Banner feature.
Enable the Kaspersky Protection extension
The Kaspersky Protection extension handles activity in the browser. Its main task is to protect your computer from dangerous sites and online scammers, but it can also remove banners. It activates when you install Kaspersky Security Cloud — look for its icon on the browser navigation bar:
If there is no icon, then you may have opted to disable it during installation, and you will have to enable Kaspersky Protection in the list of extensions.
Block ads with Anti-Banner
The Anti-Banner feature in Kaspersky Security Cloud is not active by default. However, you can turn it on it directly in the browser. To do so, click the Kaspersky Protection icon, followed by the green Enable button in the drop-down menu. Refresh the page and any banners will disappear.
You can also activate the feature from Kaspersky Security Cloud by opening the settings panel (the gear icon in the lower-left corner of the main program window).
In the menu that appears, select Protection and then Anti-Banner (in the middle of the long list of product tools).
Anti-Banner settings to remove multilingual and specific ads
Advertising networks know a lot about you, and they frequently show banners in your language, even on sites that aren’t. Our ad-blocker extension gets rid of such ads. However, if you use multiple languages at once, you’ll need to filter ads in each of them. As before, you’ll do so in Kaspersky Security Cloud’s settings panel. Open the Anti-Banner section, and select List of filters.
To block ads in a particular language, simply enable its filter in the list.
In addition to language filters, the settings include options to get rid of social media widgets (buttons with links to Facebook, Twitter, etc.) and windows inviting you to subscribe to updates. To enable them, select Thematic filters.
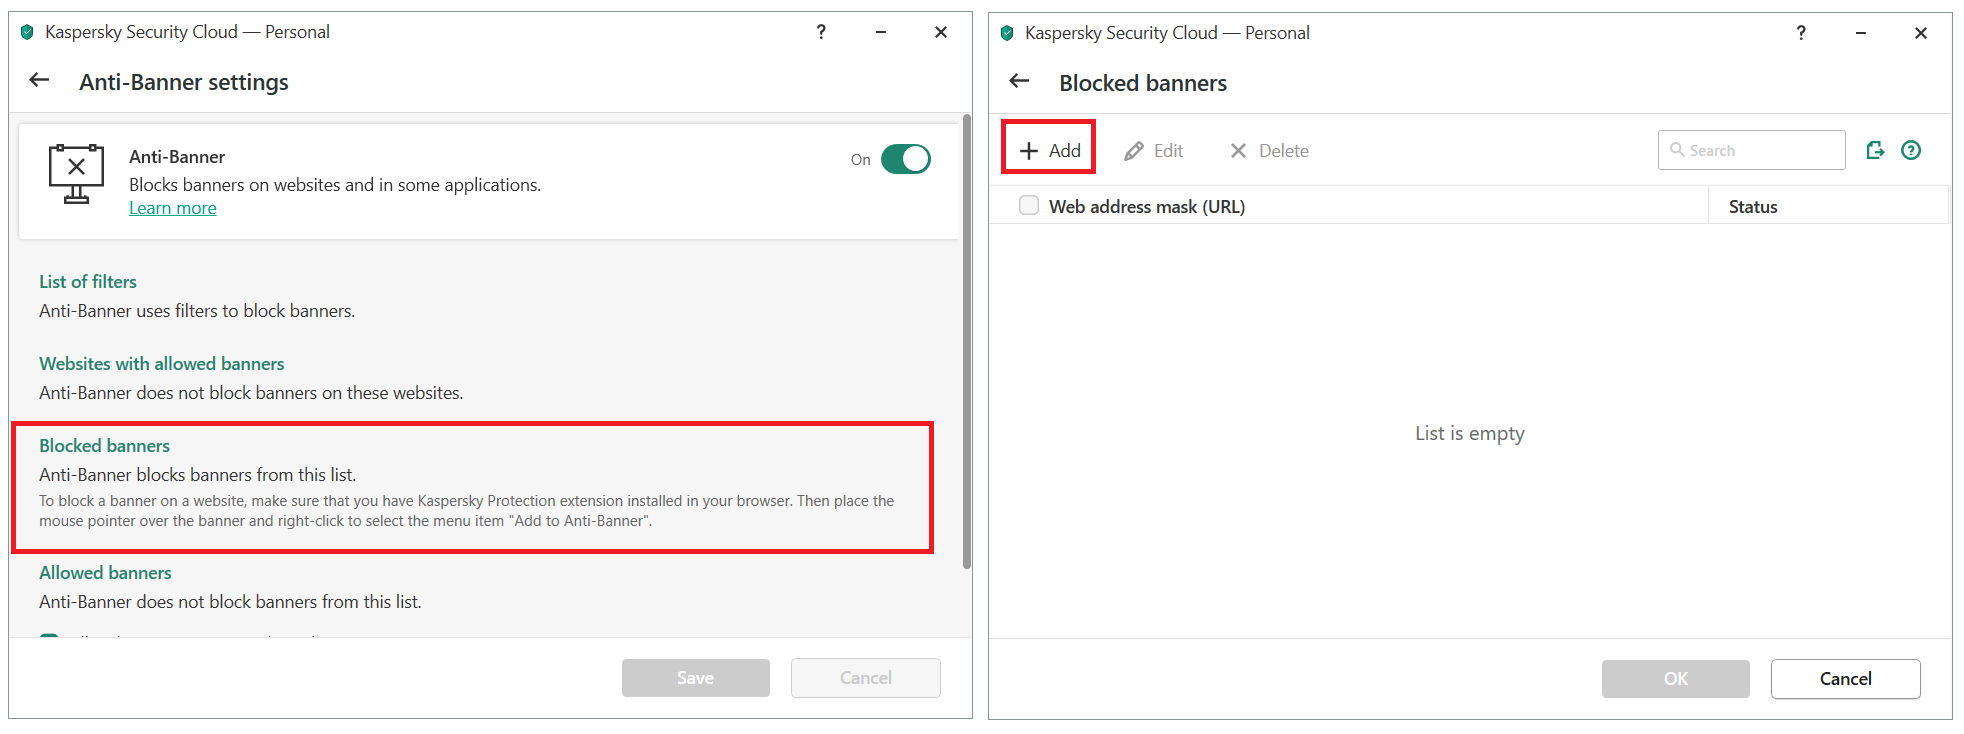
Sometimes an individual ad bypasses a filter and remains visible on the site. You can add such ads to the list of blocked banners manually. To do so, open theAnti-Banner section in the Kaspersky Security Cloud settings panel and select Blocked banners.
In the window that opens, click Add and paste the address of the banner into the Web address mask (URL) field. You can get this address by right-clicking the banner and selecting Copy Link.
Click OK again and refresh the site.
Not all ads are bad
If you don’t want to give all ads the chop, allow them on a specific site by adding it to the allowlist.
The easiest way is right in the browser: Click the Kaspersky Protection extension icon, then Anti-Banner, and select Allow on this website in the list that opens.
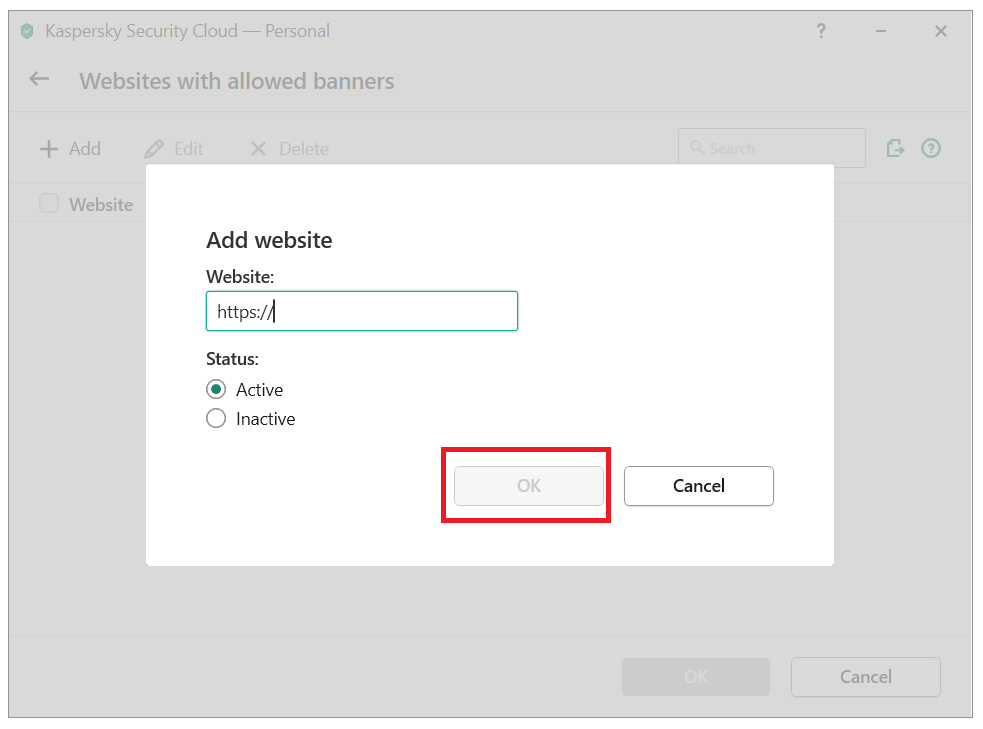
Another way to do the same thing: Open Kaspersky Security Cloud’s settings panel, select Anti-Banner, followed by Websites with allowed banners, and click Add.
Copy the address of the page you want to add, paste it into the Website field, and click OK.
Now you know how to block and unblock advertising banners as you please. More information about Anti-Banner and other useful tools in Kaspersky Security Cloud is available in our blog.
 tips
tips


